
This resource portal is for active Designfusion customers.
Dashboard Home
Solid Edge – How to compare similar models in Solid Edge
Understanding changes between two versions or revisions of a design is a challenge, especially for large, complex 3D models. Solid Edge’s Compare Models command helps project managers, designers, and QA/QC teams track design changes across revisions of a file. Using this tool, you can compare two revisions of a model (or assembly) and easily understand what was added, removed, or modified between the two revisions. You can select this command without having a document open and browse to the files to compare in the Compare Models interface.
Compare Models supports the comparison of:
- 3D part models
- Assemblies
- Family of Parts members
- Sheet metal models
- Part models with different orientation and position
To compare two 3D models, follow these steps.
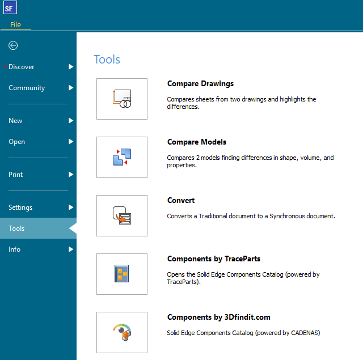
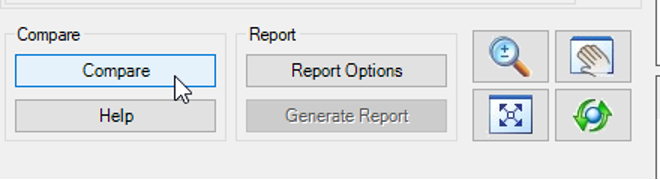
- Open Solid Edge and from the File menu, choose Tools→ Compare Models.
This will launch the Compare Models dialog.
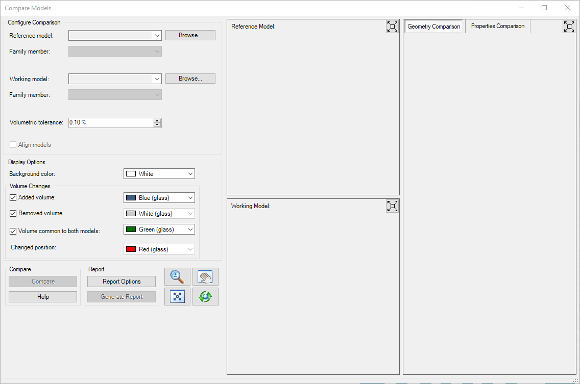
- In the Compare Models dialog box, in the Configure Comparison section, select the Reference Model and the Working Model.
The working model is compared to the reference model.
Note: If you open a model, before selecting the command, the model displays the open file in the Reference Model and the Working Model pull down list on the Compare Models dialog box.
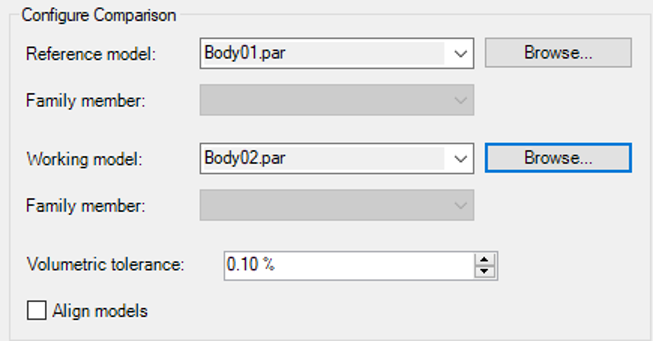
Note: In this example Body01.par and Body02.par was used.
- The comparison uses the base coordinate system as the default.
If the parts are already aligned, skip this step.
If the two models have different coordinate systems, select the Align Parts option. Under the Working model CS: and change the Base selection to the coordinate system used in the working model.
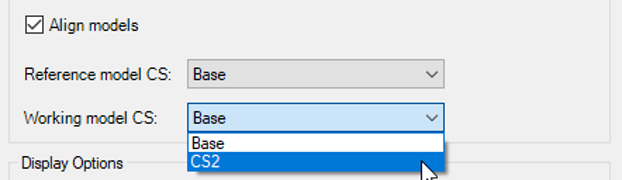
Note: In this example a coordinate system named CS2 was used.
- Click Compare.
When the comparison analysis is complete, the results display in the viewport on the right.
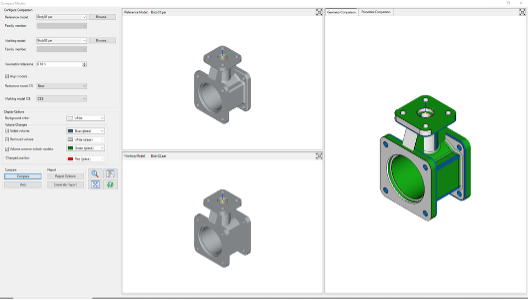
Notice the colors in the Display Options.
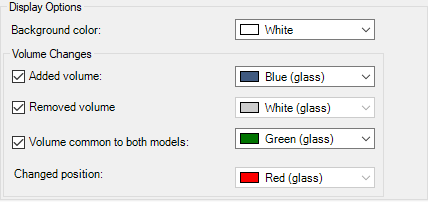
Each color represents a possible change in volume or a change in position. If no difference in volume or position the model will appear green.
You can switch between a Geometry Comparison view or a Properties Comparison of the results.
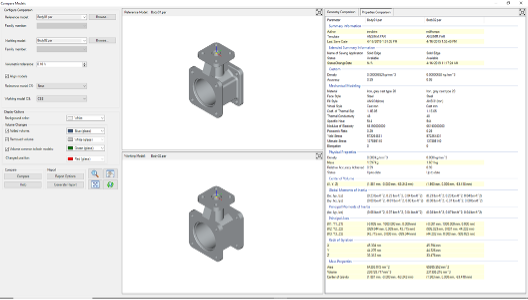
The properties that are highlighted indicate properties that are different.
Note: To save the results, click Generate Report. Specify a report format, location, and name.
The geometry comparison results, property comparison results, and the options used to generate the comparison are included in the report. Reports are saved to an unmanaged location.
August 8, 2024